Tuesday 5 March 2024

Dreamy starry Helene and a Blomma hack

 So how about an epic win?

After my first pair of Helene jeans, I wore them around, and reflected on the vision I had for this fabric.  It's been stashed for awhile, being a special designer fabric and etc etc, but I felt pretty confident that I could match my inspiration.  I sized up to a 6, used the straight leg pattern, removed 2" from the rise, and the 30" inseam (interestingly - this was LONGER than the 32" inseam of the other pair.)  My vision was of a pair of fitting to slightly oversized jeans with a straight leg and about an ankle length which I planned to not hem.  I had considered different lengths for the front and back hem - a nice addition I've seen on some RTW, but it would have required planning ahead and cutting the different lengths and felt like too much at the time, so I skipped it. 

The denim is probably 10 oz and has no stretch.  I made sure to use a zipper that wasn't too short this time, and I was really surprised that these jeans came together in one day with no hitches at all, in fact, they felt very meditative.  Have I finally got the handle on denim??  I used gutermann topstitching thread and it didn't thread nest on the back.  

And then I went to put in the button...

And for the first time in my life, the button ripped almost through the fabric.  It was literally the final step, as I had already done the rivets.  I was in horrified shock.  This immediately led me to try to find solutions which were, at this moment, unnecessary - because the button hasn't pulled all the way through I'll have to wear the jeans as they are until it does, and then orchestrate a fix.  But anyway I sewed on a scrap of leather behind the button, and clearly that will be my fix - I'll put little pieces of leather front and back of the hole after interfacing them, and then apply a new button. I might topstitch that area of the WB in a spiral to strengthen it for all this. 

Aside from that catastrophic denouement, the jeans are perfect.  I did, however, stop there and I did not put on a little leather patch on the back.  Maybe I'll do that when I replace the button...


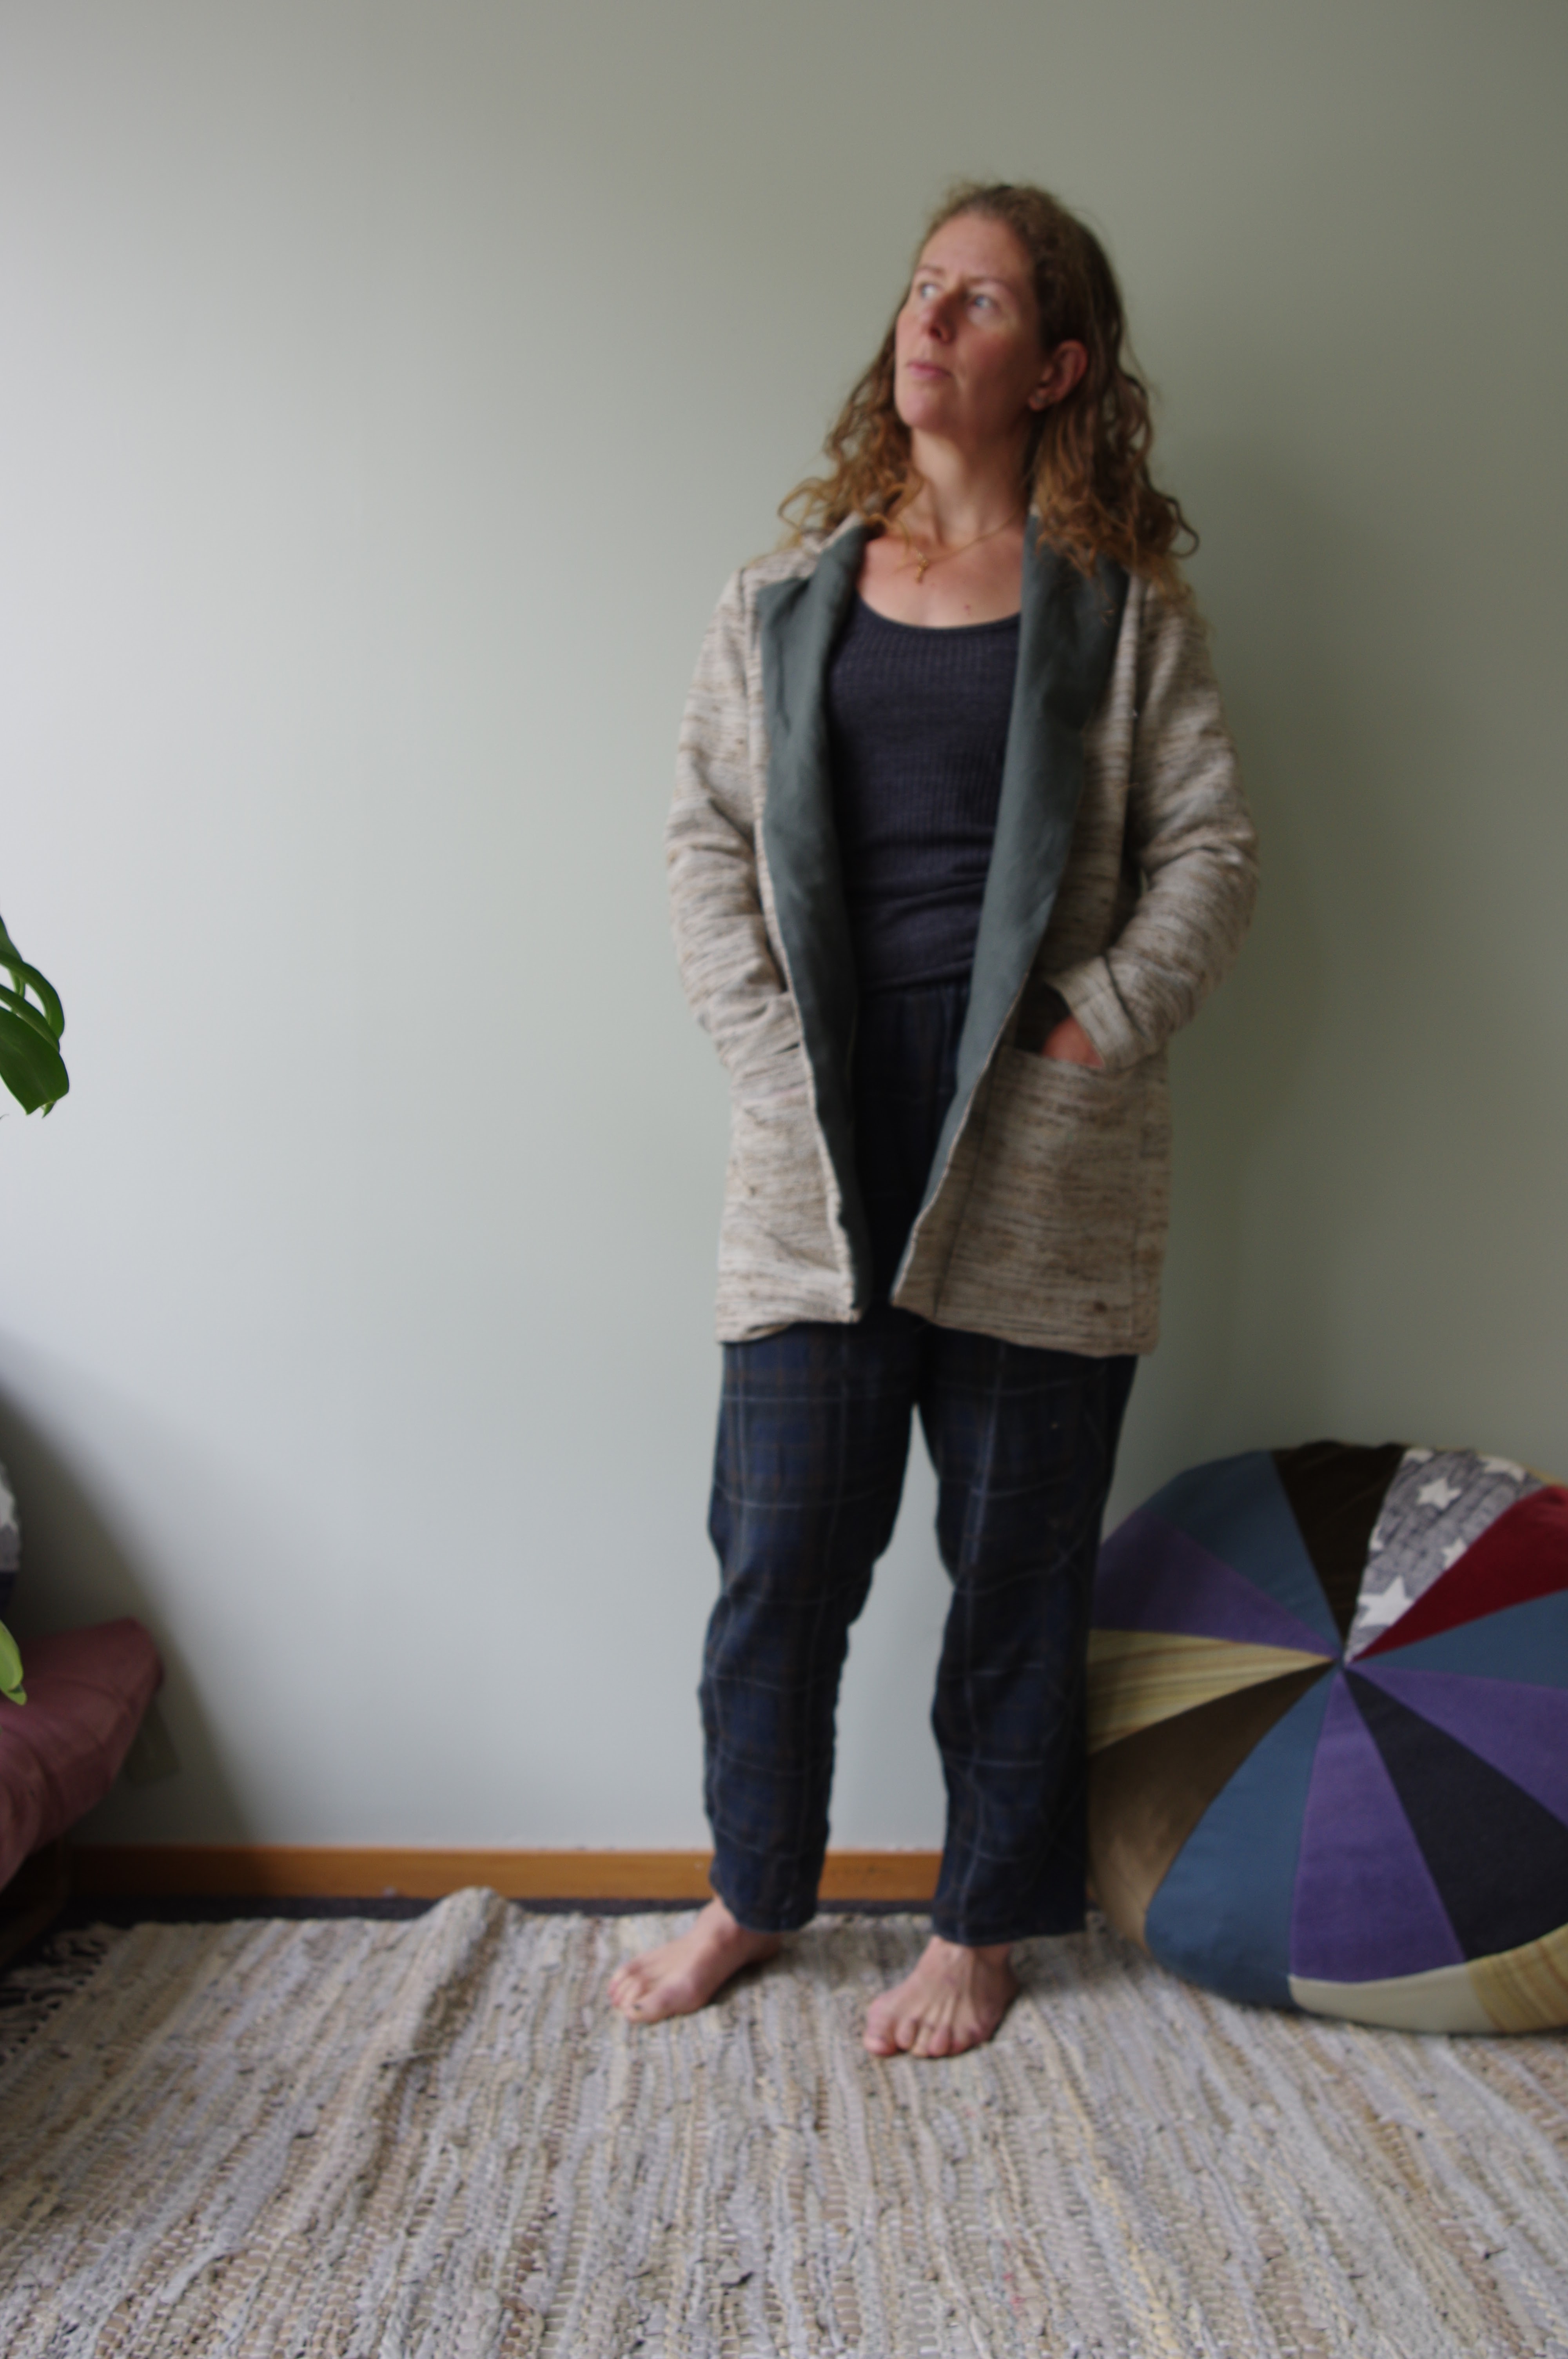
I'm wearing them here with my new Blomma top.  I realised at the beginning of summer that I needed a cropped linen tank top.  I got 2m of linen knit from The Fabric Box, used the Blomma, widened the back by an inch or so, cropped it, and used the armhole binding technique from the Briar tee.  It has been the perfect addition to my summer wardrobe as waistbands creep up!  

Monday 26 February 2024

The Friday Pattern Co Victoria blazer review

My experience with the Friday Pattern Co has been intense in the past few months, and it has seriously been pretty checkered.  I knew ahead of time that this pattern has a rather tight sleeve - during our sewing weekend in Auckland I got to try on an XS in progress.  Thus I went with a size S.  I knew it would be long and so my vision was a kind of coat/blazer crossover.

I did not really anticipate how much fabric this needs. I'd considered a lot of different fabrics for it, but settled on a loose woven silk from Nepal, and it's a loomed width (110 cm) and it was not enough...so for the facing I went with a contrasting green linen.  I did NOT at any point think about how the facing of the front lapels would be actually so visible.  Once I realised that I committed this in my head to pretty solid muslin territory because I was not super enthused.  

Things started with some challenges.  The pocket placement is extremely and oddly low, the marks line up the pockets near the hem of the blazer, so I moved them up in order to have a hem in the end, this was still not really helpful as the pocket location meant I couldn't vary the hem upwards by much (unless I wanted to sew into the pocket).  The lining gap is in a strange location, and so I moved it a less obvious location.  Naturally I managed to octopus my sleeve hems into a mobius strip and had to undo the first one, ugh.  I did hand sew the seam allowance of the sleeve cuff together so it wouldn't flip out, and that small amount of extra work did seem to improve the sit of the lining in the cuff, and keep the cuff from unfolding outwards.  I'll keep that in mind for future makes.  I think there are recommendations to sew the lining of the hem like this as well and that makes sense because my hems of lined jackets always droop.

I was already pretty down on this because of the non-matching facing, and so when the hem went to hell in a handbasket I didn't fight too hard. Nothing lined up.  In order to create a semblance of closure I had to create a hem from nothing and the result is this totally horrible curve to the hems and some super dubious handstitching.  Far from finally learning a cool way to get that tragedy of hem, lining and front facing to meet in a friendly fashion, this was a ruin because the length of the facing, the amount of seam allowance of the facing towards the lining, and the lining/hem interface did not match as the instructions suggested they should.  It certainly could be due to interfacing the facing, so it was longer and pulled differently than the silk. Maybe it cut differently than the silk.  No idea.  

My final feeling was that although the fit of this isn't terrible - it does fit -  I never really like lapel things and I don't like this lapel thing, and I would never make it again and never try to figure out what has gone wrong with these instructions and placement of things.  I have previously mused that I will only be happy with a real coat or blazer when I commit to a serious one with layers, pad stitching, shoulder pads, and other tailoring realities that I only know about in a hazy vague way.  I think that's still the case.  I'm too picky to like an easy sew when I want the result of a complicated and well-designed project.  


This might suit someone who really wants that easy sew (which is most of Friday's market) but I don't have advice for the hems except to say maybe it was just me.  I recommend putting on the pockets late in the process when you can double check you are happy with the location.  I don't like the way it fits across my back - maybe I need some kind of wide back or muscled neck adjustment, but overall the fit is not the problem with this pattern.


Sunday 18 February 2024

Linen knit Seaforth lounge pants: for maximal lounging

 I have two pairs of my favourite drop-crotch linen knit loungepants.  The pattern was made using the Anima pants and a drop-crotch online tutorial.  One pair is from 2020 and the other was made a few months ago...and they both already have holes.  (Linen knit is not the most durable, or possibly due to my crappy clothespins.) Clearly I need *more* linen loungepants!  I was envisioning a double layer of coziness, and mentally riffled through my patterns trying to figure out which would be loungy enough (the Hudsons are too snug and low waisted.)  I thought this pattern would be perfect and since it's meant for wovens I was guaranteed a good oversized fit - I used the same size (4) and pattern pieces as for my previous go at the Seaforth.  The pockets though, don't come with a non-zip option.  Also, the double layer business had to go, as this pattern takes...a meter of fabric...so I didn't have any to spare.  


For a quick pocket fix I used the pattern piece from the Linen Loungers. I overlapped the two pockets and created a pocket opening to replace the zip, and added a binding.  Otherwise, no changes to the original pattern.  I did all the darts and back pockets as per the woven instructions.  Very easy to make!  So pleased to wear!  And they match my new cropped linen Blomma top!  (This Blomma top has been the summer win, so perfectly cropped and very fashionable.) 


Monday 12 February 2024

Friday Pattern Co Wilder dress review

 I have been planning to make this dress for years!  My enthusiasm ramped up when I saw pictures of it without the bottom tier - thinking this would have so much interesting potential.  I also was dreaming of see-through dresses with an underneath tank dress.  Last summer I even committed and bought some Liberty voile on sale, since of course I never buy 3m of fabric unless I am reminded to do so by a specific pattern.  

And finally it's the middle of summer again, and I had the time to put it together.  It was a fun and effortless sew.  I made XS, knowing that this pattern is very oversized. I hoped my shoulders wouldn't be too much for the smaller size but it has a lot of ease.  The fabric is well behaved and it came together without any problems.  I did want to add pockets, but I couldn't figure out exactly where they should go so I decided to save that for future renditions.  


It was fun to make and I think it's pretty hilarious, as oversized floppy muumuu type things go.  As anticipated I really hate the neck finish/long dangling ties.  I think on future versions I'll just stick elastic in the neck instead.  Definitely without the bottom tier, and definitely with great big pockets.  Also I have seen a sleeveless hack and I would be up for that - so this pretty much went as I expected.  I don't know how much I'll wear it in life - it go out a few times while I was in Fiji but overall I expect it to spend most of its time in my closet - but I want to do some experiments and see if I can get it to work for me.